Introduction to Personalized Cheesecake Bars (Graduation Dessert)
Graduation season is a time of celebration, and what better way to sweeten the occasion than with personalized cheesecake bars? These delightful treats are not only delicious but also incredibly customizable, making them the perfect graduation dessert. I know how hectic life can get, especially for busy moms and professionals, so this recipe is a quick solution that will impress your loved ones. With just a few simple steps, you can create a dessert that reflects the unique personality of your graduate. Let’s dive into this scrumptious adventure together!
Why You’ll Love This Personalized Cheesecake Bars (Graduation Dessert)
These personalized cheesecake bars are a dream come true for busy schedules. They’re easy to whip up, taking just over an hour of your time, including baking and cooling. The creamy texture and rich flavor will have everyone asking for seconds. Plus, the customization options mean you can tailor them to fit your graduate’s taste, making each bite a sweet celebration of their achievement!
Ingredients for Personalized Cheesecake Bars (Graduation Dessert)
Gathering the right ingredients is the first step to creating your personalized cheesecake bars. Here’s what you’ll need:
- Graham cracker crumbs: These form the base of your crust, providing a sweet and crunchy texture.
- Unsalted butter: Melted butter binds the crumbs together, giving the crust a rich flavor.
- Granulated sugar: This sweetens the cheesecake filling, balancing the tanginess of the cream cheese.
- Cream cheese: The star of the show! Softened cream cheese creates that creamy, dreamy texture we all love.
- Large eggs: Eggs help set the filling, giving it structure and a smooth consistency.
- Vanilla extract: A splash of vanilla adds warmth and depth to the flavor profile.
- Sour cream: This ingredient adds a delightful tang and creaminess to the filling.
- All-purpose flour: A small amount helps stabilize the cheesecake, ensuring it holds its shape.
- Food coloring (optional): Want to make it festive? A few drops of food coloring can personalize your bars for any occasion.
- Toppings of choice: Fresh fruits, chocolate, or whipped cream can elevate your bars and make them visually stunning.
For exact measurements, check the bottom of the article where you can find everything available for printing. Happy baking!
How to Make Personalized Cheesecake Bars (Graduation Dessert)
Step 1: Preheat the Oven
First things first, let’s get that oven preheating to 325°F (160°C). Preheating is crucial because it ensures even baking. If you skip this step, your cheesecake bars might end up unevenly cooked. Trust me, you want that perfect creamy texture!
Step 2: Prepare the Crust
In a mixing bowl, combine your graham cracker crumbs and melted butter. Stir until the crumbs are fully coated. This mixture should resemble wet sand. Now, press it firmly into the bottom of a greased baking pan. Don’t be shy! A well-pressed crust will hold together beautifully once baked.
Step 3: Make the Cheesecake Filling
In a large mixing bowl, beat the softened cream cheese and granulated sugar until smooth. This is where the magic begins! Add the eggs one at a time, mixing well after each addition. Then, stir in the vanilla extract, sour cream, and flour. Make sure everything is well combined for that luscious filling we all crave.
Step 4: Add Personal Touches
Feeling creative? This is the fun part! If you want to add a splash of color, now’s your chance. A few drops of food coloring can transform your cheesecake bars into a festive masterpiece. Just mix it in until you achieve your desired shade. It’s a simple way to make your dessert pop!
Step 5: Bake the Cheesecake Bars
Pour the cheesecake mixture over your prepared crust. Bake in the preheated oven for 45-50 minutes. To check if they’re done, gently shake the pan. If the center has a slight jiggle but is mostly set, you’re good to go! Remember, they will firm up as they cool.
Step 6: Cool and Refrigerate
Once baked, let your cheesecake bars cool at room temperature. This step is essential for achieving the right texture. After about an hour, pop them in the refrigerator for at least 4 hours. Chilling allows the flavors to meld and the bars to set perfectly.
Step 7: Add Toppings
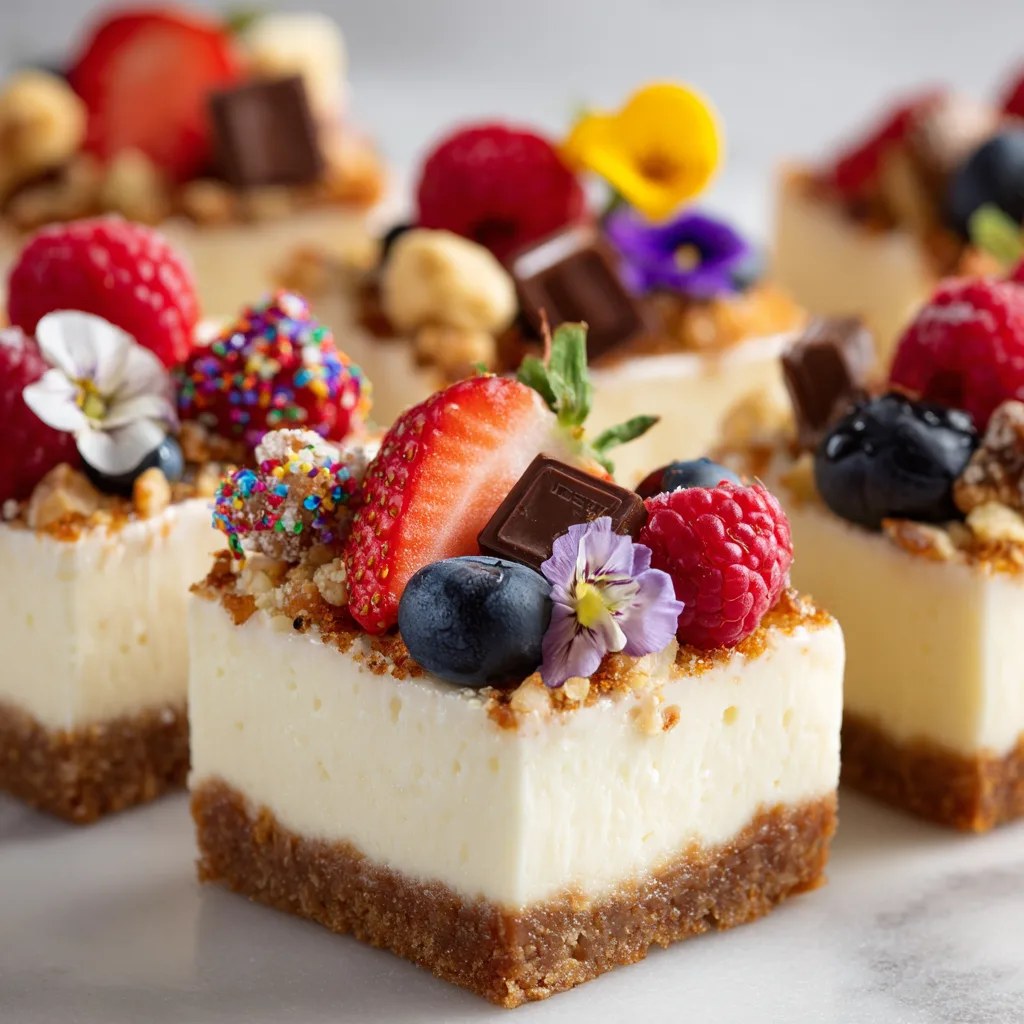
Before serving, it’s time to get creative with toppings! Fresh fruits, chocolate drizzle, or whipped cream can elevate your personalized cheesecake bars. Not only do they add flavor, but they also make your dessert look stunning. Your guests will be impressed!
Tips for Success
- Make sure your cream cheese is softened for easy mixing.
- Use a measuring cup to pack the graham cracker crumbs for a sturdy crust.
- Don’t overmix the filling; it can lead to cracks.
- Let the bars cool completely before refrigerating for the best texture.
- Experiment with different toppings to keep things exciting!
Equipment Needed
- Mixing bowls: A large bowl for the filling and a smaller one for the crust. You can use any bowls you have on hand.
- Electric mixer: A hand mixer works great, but a whisk can do the job if you’re feeling strong!
- Baking pan: A 9×13 inch pan is ideal, but any similar-sized pan will work.
- Spatula: A rubber spatula helps in mixing and scraping down the sides.
- Measuring cups and spoons: Essential for accurate ingredient measurements.
Variations of Personalized Cheesecake Bars (Graduation Dessert)
- Fruit Swirls: Add a swirl of your favorite fruit puree, like raspberry or blueberry, to the cheesecake mixture for a fruity twist.
- Chocolate Lovers: Mix in chocolate chips or use a chocolate cookie crust for a rich chocolate flavor.
- Gluten-Free Option: Substitute graham cracker crumbs with gluten-free cookies or almond flour for a gluten-free crust.
- Vegan Version: Use vegan cream cheese and flax eggs to create a dairy-free version that everyone can enjoy.
- Nutty Delight: Incorporate crushed nuts like pecans or walnuts into the crust for added crunch and flavor.
Serving Suggestions for Personalized Cheesecake Bars (Graduation Dessert)
- Pair with a scoop of vanilla ice cream for a delightful contrast in temperature.
- Serve alongside fresh berries to add a burst of color and flavor.
- Drizzle with chocolate or caramel sauce for an extra touch of sweetness.
- Garnish with mint leaves for a refreshing finish.
- Present on a decorative platter to impress your guests!
FAQs about Personalized Cheesecake Bars (Graduation Dessert)
Can I make these cheesecake bars ahead of time?
Absolutely! These personalized cheesecake bars can be made a day in advance. Just store them in the refrigerator until you’re ready to serve. This actually enhances the flavors!
What can I use for toppings?
The options are endless! Fresh fruits, chocolate chips, whipped cream, or even a drizzle of caramel sauce can elevate your personalized cheesecake bars. Get creative!
How do I know when the cheesecake bars are done baking?
Gently shake the pan; if the center has a slight jiggle but is mostly set, they’re ready. Remember, they will firm up as they cool!
Can I freeze the cheesecake bars?
Yes, you can freeze them! Just wrap them tightly in plastic wrap and then in aluminum foil. They’ll keep well for up to three months. Thaw in the fridge before serving.
What if I don’t have graham cracker crumbs?
No worries! You can use crushed cookies like Oreos or vanilla wafers for a different flavor. Just make sure they’re finely crushed for the best crust!
Final Thoughts on Personalized Cheesecake Bars (Graduation Dessert)
Creating personalized cheesecake bars is more than just baking; it’s about celebrating milestones and making memories. Each bite is a sweet reminder of your graduate’s hard work and achievements. I love how these bars can be tailored to reflect their unique personality, making them feel special on their big day. Plus, the joy of sharing a homemade dessert with family and friends is truly priceless. So, roll up your sleeves, gather your ingredients, and let the festivities begin! Your personalized cheesecake bars will surely be the highlight of the celebration!

Personalized Cheesecake Bars Make Your Graduation Sweet!
- Total Time: 4 hours 10 minutes
- Yield: 16 bars 1x
- Diet: Vegetarian
Description
Delicious and customizable cheesecake bars perfect for celebrating graduation.
Ingredients
- 2 cups graham cracker crumbs
- 1/2 cup unsalted butter, melted
- 1 cup granulated sugar
- 4 (8 oz) packages cream cheese, softened
- 4 large eggs
- 1 teaspoon vanilla extract
- 1/4 cup sour cream
- 1/4 cup all-purpose flour
- Food coloring (optional)
- Toppings of choice (fruits, chocolate, etc.)
Instructions
- Preheat the oven to 325°F (160°C).
- In a bowl, mix graham cracker crumbs and melted butter until combined.
- Press the mixture into the bottom of a greased baking pan to form the crust.
- In a large mixing bowl, beat the cream cheese and sugar until smooth.
- Add eggs one at a time, mixing well after each addition.
- Stir in vanilla extract, sour cream, and flour until fully combined.
- If desired, add food coloring to the mixture for personalization.
- Pour the cheesecake mixture over the crust in the baking pan.
- Bake for 45-50 minutes or until the center is set.
- Let cool, then refrigerate for at least 4 hours before serving.
- Top with your choice of toppings before serving.
Notes
- For a firmer texture, bake a little longer.
- Customize with different flavors or colors for different graduates.
- Store leftovers in the refrigerator for up to 5 days.
- Prep Time: 20 minutes
- Cook Time: 50 minutes
- Category: Dessert
- Method: Baking
- Cuisine: American
Nutrition
- Serving Size: 1 bar
- Calories: 250
- Sugar: 18g
- Sodium: 200mg
- Fat: 15g
- Saturated Fat: 9g
- Unsaturated Fat: 4g
- Trans Fat: 0g
- Carbohydrates: 25g
- Fiber: 1g
- Protein: 4g
- Cholesterol: 70mg