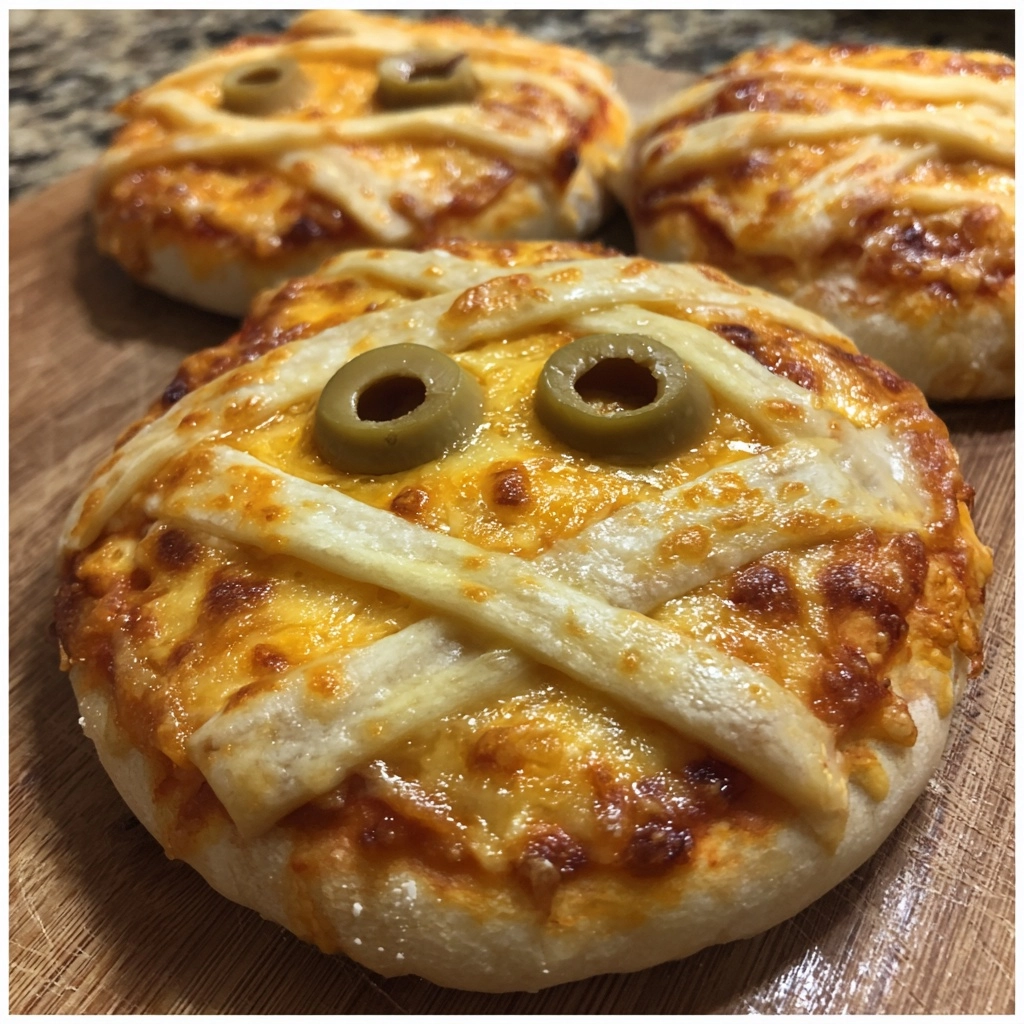
Introduction to Mini Mummy Pizzas
As the leaves turn and the air gets crisp, I find myself craving cozy, fun meals that bring a little magic to the table. That’s where my Mini Mummy Pizzas come in! These delightful little bites are not just a treat for the taste buds; they’re a quick solution for busy days filled with Halloween excitement. Whether you’re hosting a spooky gathering or just want to surprise your family with a festive dinner, these pizzas are sure to impress. Plus, they’re easy to make, so you can enjoy the fun without the fuss!
Why You’ll Love This Mini Mummy Pizzas
These Mini Mummy Pizzas are a lifesaver for busy moms like me! They come together in just 27 minutes, making them perfect for those hectic weeknights. The kids will love the spooky design, and you’ll appreciate how easy they are to customize. Plus, they’re deliciously cheesy and packed with flavor, ensuring everyone at the table leaves happy. It’s a win-win for both parents and little ghouls!
Ingredients for Mini Mummy Pizzas
Gathering the right ingredients is half the fun of making Mini Mummy Pizzas! Here’s what you’ll need:
- Mini pizza crusts: These are the perfect base for your spooky creations. You can find them in the store or make your own if you’re feeling adventurous!
- Pizza sauce: A classic tomato sauce adds that rich, tangy flavor. Feel free to use store-bought or whip up a quick homemade version.
- Shredded mozzarella cheese: This gooey cheese melts beautifully and gives that classic pizza taste. You can also experiment with other cheeses like cheddar or provolone for a twist.
- Sliced black olives: These little slices are perfect for creating spooky eyes. If you’re not a fan, you can substitute with green olives or even small pepperoni pieces.
- Pepperoni slices: These add a savory kick and help create the mummy bandage effect. You can swap them out for turkey pepperoni or even veggies for a healthier option.
- Egg (for egg wash): This is optional but gives the crust a lovely golden finish. If you prefer a vegan option, a little olive oil brushed on the edges works too!
For exact quantities, check the bottom of the article where you can find everything listed for easy printing. Now, let’s get cooking!
How to Make Mini Mummy Pizzas
Making Mini Mummy Pizzas is a delightful adventure! Follow these simple steps, and you’ll have a spooky treat ready in no time. Let’s dive in!
Step 1: Preheat the Oven
First things first, preheat your oven to 400°F (200°C). Preheating is crucial because it ensures your pizzas bake evenly. A hot oven helps the cheese melt perfectly and gives the crust that golden, crispy finish we all love!
Step 2: Spread the Sauce
Next, take your pizza sauce and spread it evenly over each mini pizza crust. Use the back of a spoon or a small spatula for this. Make sure to cover the entire surface, leaving just a little space at the edges for the crust. This will keep your pizzas from getting soggy and enhance the flavor!
Step 3: Add Cheese
Now, it’s time to sprinkle that shredded mozzarella cheese on top of the sauce. I like to use a generous amount because who doesn’t love cheesy goodness? You can also mix in some cheddar or provolone for a fun twist. Just make sure the cheese is evenly distributed for that perfect melt!
Step 4: Create Mummy Bandages
Here comes the fun part! Arrange the pepperoni slices on top of the cheese to resemble mummy bandages. You can overlap them a bit for a more authentic look. Get creative! The more haphazard, the better it looks. This is where your Mini Mummy Pizzas start to come to life!
Step 5: Add Eyes
To give your mummies some personality, place two black olive slices on each pizza for eyes. You can use whole olives or cut them in half, depending on your preference. This little detail adds a spooky touch that kids will love!
Step 6: Brush with Egg Wash
For a beautiful golden crust, brush the edges of the crust with an egg wash. Just beat the egg and use a pastry brush to apply it. If you’re looking for a vegan option, a light brush of olive oil works just as well. This step makes your pizzas look extra appetizing!
Step 7: Bake the Pizzas
Now, pop those Mini Mummy Pizzas into the preheated oven. Bake them for about 10-12 minutes. Keep an eye on them! You’ll know they’re done when the cheese is bubbly and the crust is golden brown. The aroma will be irresistible!
Step 8: Cool and Serve
Once they’re out of the oven, let the pizzas cool for a few minutes. This helps the cheese set a bit, making them easier to handle. Serve them warm, and watch your family’s faces light up with delight!
Tips for Success
- Prep all your ingredients before starting to save time.
- Experiment with different toppings to suit your family’s tastes.
- Use a pizza stone for an even crispier crust.
- Don’t skip the egg wash; it makes a big difference in appearance!
- Let the pizzas cool slightly before serving to avoid burns.
Equipment Needed
- Baking sheet: A standard baking sheet works perfectly. If you have a pizza stone, use that for an extra crispy crust!
- Pastry brush: This is great for applying the egg wash. A clean paintbrush can be a fun alternative!
- Spatula: Use it to spread the sauce evenly. A spoon can also do the trick!
Variations
- Veggie Mummy Pizzas: Swap out pepperoni for a mix of colorful veggies like bell peppers, mushrooms, and spinach for a healthier twist.
- Cheesy Mummy Pizzas: Use a blend of cheeses such as mozzarella, cheddar, and gouda for a rich, cheesy flavor.
- Gluten-Free Option: Use gluten-free mini pizza crusts to accommodate dietary restrictions without sacrificing fun!
- Spicy Mummy Pizzas: Add jalapeño slices or spicy sausage for a kick that will thrill those who love heat.
- Sweet Mummy Pizzas: For a dessert twist, use a sweet pizza crust topped with Nutella and banana slices, then add mini marshmallows for eyes!
Serving Suggestions
- Pair your Mini Mummy Pizzas with a crisp green salad for a refreshing contrast.
- Serve with a side of spooky-themed fruit, like orange slices or blackberries, to keep the Halloween spirit alive.
- For drinks, consider apple cider or a fun Halloween punch to complement the flavors.
- Present the pizzas on a festive platter, garnished with fresh herbs for a pop of color!
FAQs about Mini Mummy Pizzas
As I’ve shared my love for Mini Mummy Pizzas, I often get questions from fellow home cooks. Here are some of the most common queries I hear:
Can I make Mini Mummy Pizzas ahead of time?
Absolutely! You can prepare the pizzas in advance and store them in the fridge. Just bake them right before serving for that fresh-out-of-the-oven taste!
What other toppings can I use for Mini Mummy Pizzas?
The beauty of these pizzas is their versatility! You can add veggies, different meats, or even switch up the cheese. Get creative and make them your own!
Are Mini Mummy Pizzas suitable for kids?
Definitely! Kids love the fun design, and you can customize the toppings to suit their tastes. They’re a hit at Halloween parties or any family gathering!
How do I store leftovers?
Store any leftover Mini Mummy Pizzas in an airtight container in the fridge. They’ll stay fresh for a couple of days. Just reheat them in the oven for a few minutes before enjoying!
Can I freeze Mini Mummy Pizzas?
Yes, you can freeze them! Just assemble the pizzas, wrap them tightly, and store them in the freezer. When you’re ready to eat, bake them straight from frozen, adding a few extra minutes to the cooking time.
Final Thoughts
Creating Mini Mummy Pizzas is more than just cooking; it’s about making memories with your loved ones. The joy of seeing their faces light up as they dig into these spooky treats is priceless. This recipe brings a playful twist to dinner, making it a fun experience for everyone involved. Plus, the ease of preparation means you can spend more time enjoying the moment rather than stressing in the kitchen. So, gather your family, unleash your creativity, and let these Mini Mummy Pizzas add a dash of magic to your Halloween celebrations!
Print
Mini Mummy Pizzas: Discover Spooky New Flavors!
- Total Time: 27 minutes
- Yield: 12 mini pizzas 1x
- Diet: Vegetarian
Description
Mini Mummy Pizzas are a fun and spooky twist on traditional pizza, perfect for Halloween parties or themed gatherings.
Ingredients
- 1 package of mini pizza crusts
- 1 cup pizza sauce
- 1 cup shredded mozzarella cheese
- 1/2 cup sliced black olives
- 1/2 cup pepperoni slices
- 1 egg (for egg wash)
Instructions
- Preheat the oven to 400°F (200°C).
- Spread pizza sauce evenly over each mini pizza crust.
- Sprinkle shredded mozzarella cheese on top of the sauce.
- Arrange pepperoni slices to resemble mummy bandages.
- Place two black olive slices on each pizza for eyes.
- Brush the edges of the crust with egg wash for a golden finish.
- Bake in the preheated oven for 10-12 minutes or until the cheese is bubbly and the crust is golden.
- Remove from the oven and let cool slightly before serving.
Notes
- Feel free to customize toppings based on your preferences.
- These pizzas can be made ahead of time and baked just before serving.
- Use different types of cheese for varied flavors.
- Prep Time: 15 minutes
- Cook Time: 12 minutes
- Category: Appetizer
- Method: Baking
- Cuisine: Italian
Nutrition
- Serving Size: 1 mini pizza
- Calories: 150
- Sugar: 2g
- Sodium: 300mg
- Fat: 7g
- Saturated Fat: 3g
- Unsaturated Fat: 2g
- Trans Fat: 0g
- Carbohydrates: 15g
- Fiber: 1g
- Protein: 6g
- Cholesterol: 20mg