Introduction to Black Forest Cheesecake
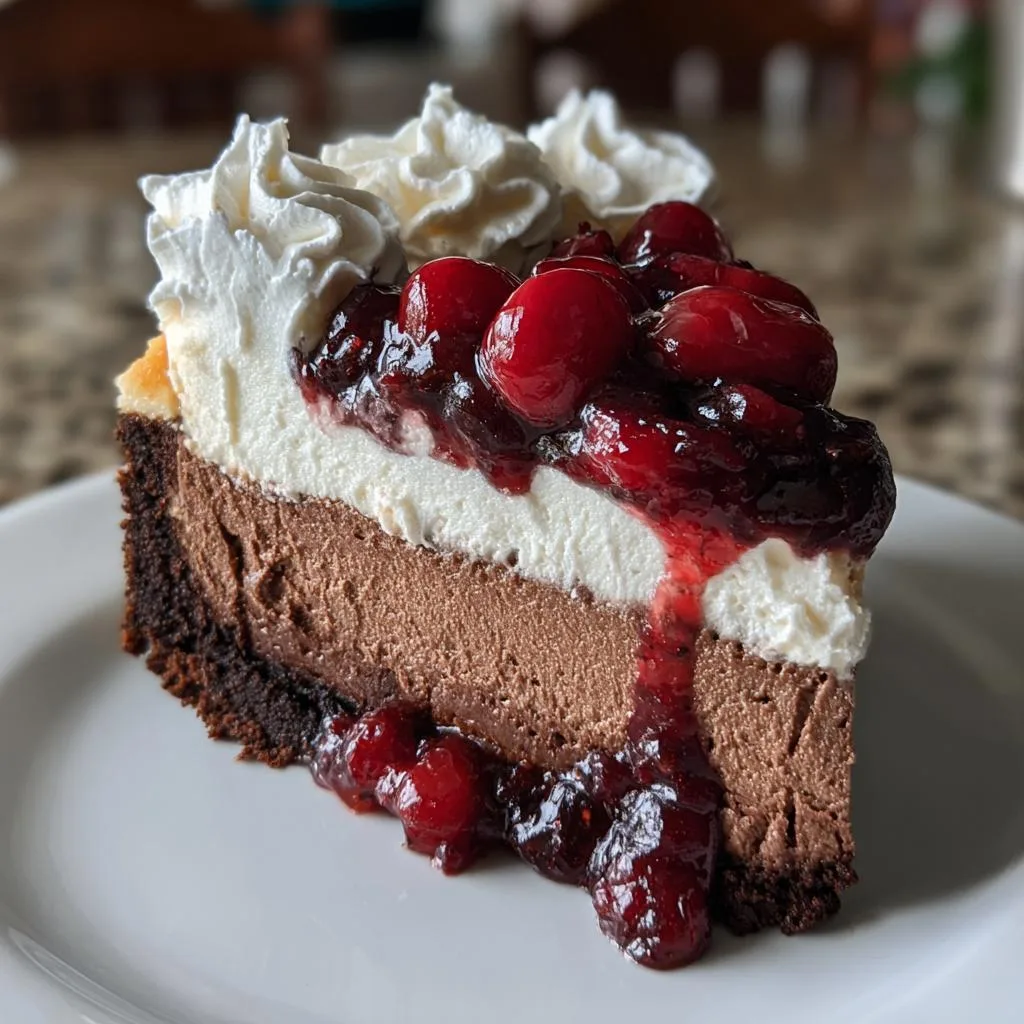
As a passionate home cook, I know how hectic life can get, especially for busy moms and professionals. That’s why I’m excited to share my Black Forest cheesecake recipe with you! This rich and creamy dessert is not just a treat; it’s a showstopper that will impress your loved ones at any gathering. Imagine the delight on their faces as they savor each bite of this decadent delight, topped with luscious cherries and chocolate. Whether it’s a special occasion or just a sweet escape from your day, this cheesecake is the perfect solution for your dessert cravings!
Why You’ll Love This Black Forest Cheesecake
This Black Forest cheesecake is a delightful blend of flavors that will make your taste buds dance! It’s surprisingly easy to whip up, even on a busy day. The creamy texture paired with the tart cherries and rich chocolate creates a heavenly experience. Plus, it’s a crowd-pleaser, perfect for family gatherings or celebrations. You’ll love how quickly it comes together, leaving you more time to enjoy the sweet moments with your loved ones!
Ingredients for Black Forest Cheesecake
Gathering the right ingredients is the first step to creating your Black Forest cheesecake masterpiece. Here’s what you’ll need:
- Graham cracker crumbs: These form the base of your cheesecake crust, providing a sweet and crunchy texture.
- Unsalted butter: Melted butter binds the crumbs together, ensuring a rich flavor without the extra salt.
- Cream cheese: The star of the show! Softened cream cheese gives the cheesecake its creamy, luscious texture.
- Granulated sugar: This sweetens the cheesecake, balancing the tartness of the cherries.
- Vanilla extract: A splash of vanilla adds warmth and depth to the flavor profile.
- Eggs: They help set the cheesecake, giving it structure and a smooth consistency.
- Sour cream: This ingredient adds a tangy richness, enhancing the overall creaminess of the cheesecake.
- Cherry pie filling: Topping your cheesecake with this adds a burst of fruity flavor and a pop of color.
- Dark chocolate shavings: These provide a decadent finish, adding a touch of elegance and a rich chocolate flavor.
For those looking to customize, consider using gluten-free graham crackers for a gluten-free option or Greek yogurt in place of sour cream for a lighter twist. You can find all the exact measurements at the bottom of the article, ready for printing!
How to Make Black Forest Cheesecake
Now that you have all your ingredients ready, let’s dive into the delightful process of making your Black Forest cheesecake! Follow these simple steps, and you’ll be on your way to creating a dessert that will leave everyone asking for seconds.
Step 1: Preheat the Oven
First things first, preheat your oven to 325°F (160°C). Preheating is crucial because it ensures that your cheesecake bakes evenly. A hot oven helps set the cheesecake’s structure, giving it that perfect creamy texture. Trust me, you don’t want to skip this step!
Step 2: Prepare the Crust
In a mixing bowl, combine your graham cracker crumbs and melted butter. Stir until the crumbs are fully coated. This mixture should resemble wet sand. Now, press it firmly into the bottom of a springform pan. Make sure it’s compact; this will create a sturdy base for your cheesecake. A well-pressed crust means no crumbling when you slice into it!
Step 3: Make the Cheesecake Batter
In a large mixing bowl, beat the softened cream cheese, granulated sugar, and vanilla extract until smooth. It’s important that your cream cheese is at room temperature; this helps avoid lumps and creates a silky batter. You want it to be as smooth as a cloud, so take your time mixing!
Step 4: Add Eggs and Sour Cream
Now, it’s time to add the eggs. Do this one at a time, mixing well after each addition. This method ensures that each egg is fully incorporated, leading to a creamy texture. After the eggs, gently fold in the sour cream. This adds a delightful tanginess and richness to your cheesecake, making it even more irresistible!
Step 5: Bake the Cheesecake
Pour the cheesecake batter over your prepared crust in the springform pan. Bake it in the preheated oven for 50-60 minutes. Keep an eye on it; the center should be set but still slightly jiggly. This means it’s perfectly baked! Overbaking can lead to cracks, so check it a few minutes before the timer goes off.
Step 6: Cool and Refrigerate
Once baked, let your cheesecake cool in the pan for about an hour. After that, transfer it to the refrigerator and chill for at least 4 hours, or overnight if you can wait! Chilling is essential for achieving that creamy texture and allowing the flavors to meld beautifully.
Step 7: Top and Serve
Before serving, it’s time to add the finishing touches! Top your chilled cheesecake with cherry pie filling, letting it cascade over the edges. Then, sprinkle dark chocolate shavings on top for that extra touch of elegance. Your Black Forest cheesecake is now ready to impress!
Tips for Success
- Always use room temperature cream cheese for a smooth batter.
- Press the crust firmly to prevent it from crumbling when sliced.
- Check for doneness by gently shaking the pan; the center should jiggle slightly.
- Chill the cheesecake overnight for the best flavor and texture.
- Use high-quality dark chocolate for richer flavor.
Equipment Needed
- Springform pan: Essential for easy removal; a regular cake pan works too, but slicing will be trickier.
- Mixing bowls: Use a large bowl for the batter and a smaller one for the crust.
- Electric mixer: A hand mixer is perfect; a whisk can work, but it’ll take longer.
- Spatula: Great for folding in ingredients and smoothing the batter.
Variations of Black Forest Cheesecake
- Chocolate Cookie Crust: Swap out the graham cracker crust for crushed chocolate cookies for an extra chocolatey base.
- Fruit Variations: Try using fresh raspberries or strawberries instead of cherry pie filling for a different fruity twist.
- Vegan Option: Substitute cream cheese with vegan cream cheese and use flax eggs to create a plant-based version.
- Gluten-Free Version: Use gluten-free graham crackers or almond flour for the crust to make it suitable for gluten-sensitive guests.
- Cheesecake Bars: Pour the batter into a baking dish instead of a springform pan for easy-to-serve cheesecake bars.
Serving Suggestions for Black Forest Cheesecake
- Pair with a dollop of whipped cream for added creaminess.
- Serve alongside fresh berries for a pop of color and freshness.
- Complement with a rich cup of coffee or a sweet dessert wine.
- Garnish with mint leaves for a touch of elegance.
FAQs about Black Forest Cheesecake
Can I make Black Forest cheesecake ahead of time?
Absolutely! In fact, making it a day in advance is ideal. Chilling overnight allows the flavors to meld beautifully, enhancing the overall taste. Just be sure to cover it well to keep it fresh!
What can I use instead of cherry pie filling?
If cherries aren’t your thing, you can use fresh berries, like raspberries or strawberries, for a fruity twist. You could also try a homemade fruit compote for a more natural flavor.
How do I store leftover Black Forest cheesecake?
Store any leftovers in an airtight container in the refrigerator. It should stay fresh for about 3-4 days. Just remember to keep it covered to maintain its creamy texture!
Can I freeze Black Forest cheesecake?
Yes, you can freeze it! Wrap the cheesecake tightly in plastic wrap and then in aluminum foil. It can last up to 2 months in the freezer. Just thaw it in the fridge before serving.
What’s the best way to slice cheesecake?
To get clean slices, use a sharp knife dipped in hot water. Wipe the knife clean between cuts for perfect slices every time. This way, your Black Forest cheesecake will look as good as it tastes!
Final Thoughts
Creating this Black Forest cheesecake is more than just baking; it’s about crafting sweet memories with your loved ones. Each slice is a celebration of flavors, from the creamy cheesecake to the tart cherries and rich chocolate. I love how this dessert brings everyone together, sparking joy and laughter around the table. Whether it’s a birthday, holiday, or just a Tuesday, this cheesecake is sure to impress. So, roll up your sleeves, embrace the process, and enjoy the delightful experience of sharing this decadent treat with those who matter most. Happy baking!
Print
Black Forest Cheesecake: Indulge in a Decadent Delight!
- Total Time: 4 hours 20 minutes
- Yield: 12 servings 1x
- Diet: Vegetarian
Description
A rich and creamy black forest cheesecake topped with cherries and chocolate, perfect for any special occasion.
Ingredients
- 1 ½ cups graham cracker crumbs
- ½ cup unsalted butter, melted
- 2 cups cream cheese, softened
- 1 cup granulated sugar
- 1 teaspoon vanilla extract
- 3 large eggs
- 1 cup sour cream
- 1 cup cherry pie filling
- ½ cup dark chocolate shavings
Instructions
- Preheat the oven to 325°F (160°C).
- In a bowl, mix graham cracker crumbs and melted butter until combined.
- Press the mixture into the bottom of a springform pan to form the crust.
- In a large mixing bowl, beat the cream cheese, sugar, and vanilla until smooth.
- Add the eggs one at a time, mixing well after each addition.
- Stir in the sour cream until fully incorporated.
- Pour the cheesecake batter over the crust in the springform pan.
- Bake for 50-60 minutes or until the center is set.
- Let the cheesecake cool, then refrigerate for at least 4 hours or overnight.
- Before serving, top with cherry pie filling and dark chocolate shavings.
Notes
- For a richer flavor, use high-quality dark chocolate.
- Make sure the cream cheese is at room temperature for a smooth batter.
- Chill the cheesecake overnight for the best texture.
- Prep Time: 20 minutes
- Cook Time: 60 minutes
- Category: Dessert
- Method: Baking
- Cuisine: German
Nutrition
- Serving Size: 1 slice
- Calories: 350
- Sugar: 25g
- Sodium: 250mg
- Fat: 22g
- Saturated Fat: 12g
- Unsaturated Fat: 8g
- Trans Fat: 0g
- Carbohydrates: 30g
- Fiber: 1g
- Protein: 5g
- Cholesterol: 80mg