Introduction to Halloween Sugar Cookie Bars
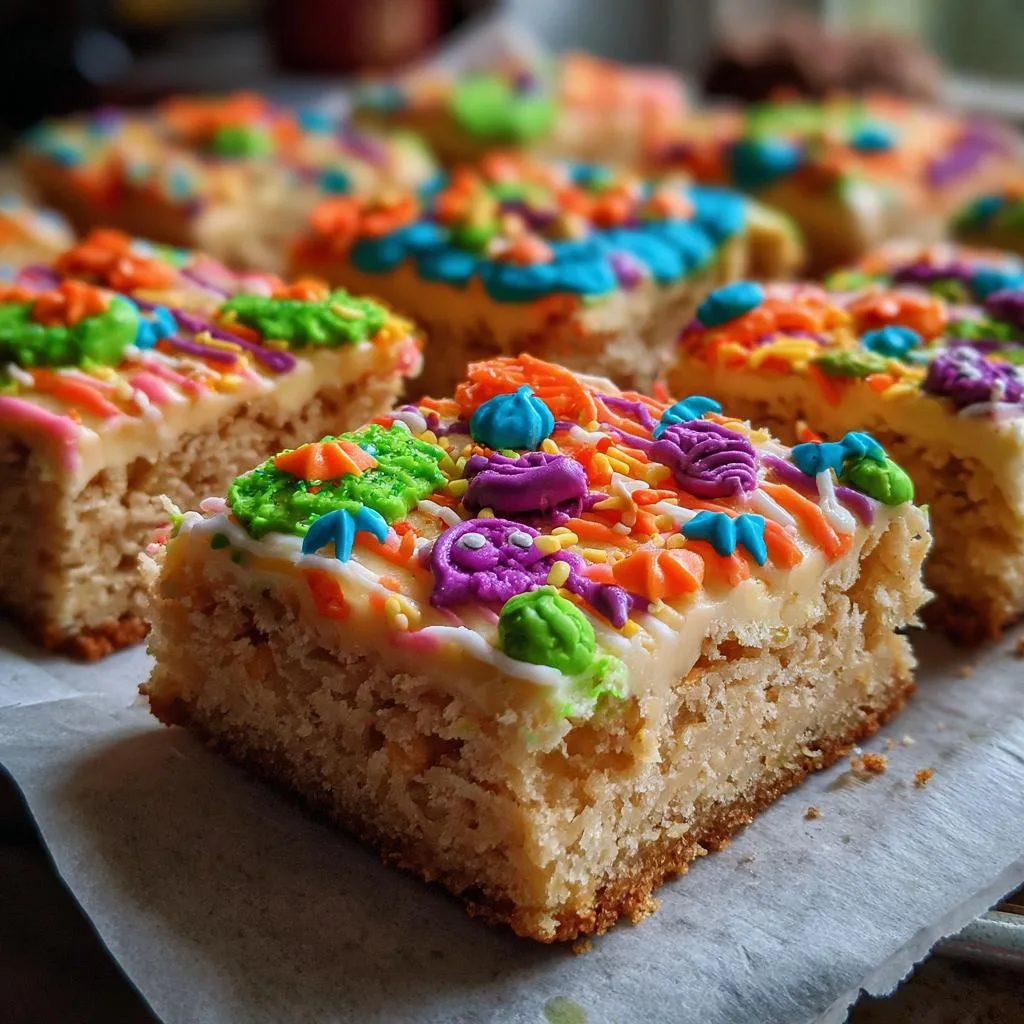
As the leaves turn and the air gets crisp, I find myself craving festive treats that bring a smile to my family’s faces. These Halloween Sugar Cookie Bars are just the ticket! They’re not only delicious but also a quick solution for busy days filled with school activities and work commitments. With their vibrant colors and spooky sprinkles, they’re sure to impress your loved ones. Plus, they’re easy to whip up, making them perfect for those last-minute gatherings or cozy nights at home. Let’s dive into this delightful recipe that captures the spirit of Halloween!
Why You’ll Love This Halloween Sugar Cookie Bars
These Halloween Sugar Cookie Bars are a dream come true for busy moms and professionals alike. They come together in just 45 minutes, making them a speedy treat for any occasion. The soft, chewy texture paired with festive colors will delight both kids and adults. Plus, they’re perfect for sharing at parties or simply enjoying at home. Who doesn’t love a treat that’s as fun to make as it is to eat?
Ingredients for Halloween Sugar Cookie Bars
Gathering the right ingredients is the first step to creating these delightful Halloween Sugar Cookie Bars. Here’s what you’ll need:
- All-purpose flour: This is the backbone of your cookie bars, providing structure and a soft texture.
- Unsalted butter: Softened butter adds richness and helps create that melt-in-your-mouth experience.
- Granulated sugar: Sweetness is key! This ingredient gives your bars that delightful sugary flavor.
- Large egg: Eggs bind everything together and add moisture, making your bars tender.
- Vanilla extract: A splash of vanilla enhances the overall flavor, making each bite irresistible.
- Baking powder: This leavening agent helps your bars rise, giving them a light and fluffy texture.
- Salt: Just a pinch balances the sweetness and enhances the flavors.
- Almond extract: This optional ingredient adds a lovely nutty flavor that complements the vanilla.
- Food coloring: Use orange, black, and purple to create a festive look that screams Halloween!
- Sprinkles: Halloween-themed sprinkles are the finishing touch, adding a fun and colorful flair.
For exact measurements, check the bottom of the article where you can find everything listed for easy printing. Feel free to get creative with your colors and sprinkles to match any occasion!
How to Make Halloween Sugar Cookie Bars
Now that we have our ingredients ready, let’s get to the fun part—making these Halloween Sugar Cookie Bars! Follow these simple steps, and you’ll have a batch of festive treats in no time.
Step 1: Preheat and Prepare
First things first, preheat your oven to 350°F (175°C). This is crucial for perfect baking. While the oven warms up, grease a 9×13 inch baking pan. A little butter or cooking spray will do the trick, ensuring your bars come out easily.
Step 2: Cream Butter and Sugar
In a large bowl, cream together the softened butter and granulated sugar until the mixture is light and fluffy. This step is vital for achieving that soft texture we all love. It should take about 2-3 minutes of mixing. Don’t rush it; this is where the magic begins!
Step 3: Add Egg and Vanilla
Next, add in the large egg and vanilla extract. Mix until everything is well combined. This adds moisture and flavor, making your cookie bars irresistible. You’ll notice the batter becoming smoother and creamier—yum!
Step 4: Combine Dry Ingredients
In a separate bowl, whisk together the all-purpose flour, baking powder, and salt. This ensures even distribution of the leavening agents. It’s a small step, but it makes a big difference in the final texture of your bars.
Step 5: Mix Wet and Dry Ingredients
Now, gradually add the dry ingredients to the wet mixture. Mix until just combined. Be careful not to overmix; we want tender bars, not tough ones. A few flour streaks are okay—this is a forgiving recipe!
Step 6: Color the Dough
Divide the dough into three portions. Color each portion with your chosen food coloring—orange, black, and purple are perfect for Halloween! This adds a festive touch that will make your cookie bars pop.
Step 7: Layer the Dough
Press the colored dough into the prepared baking pan, layering them for a marbled effect. Use your hands or a spatula to create a fun design. This step is where you can get creative, so have fun with it!
Step 8: Bake
Place the pan in the preheated oven and bake for 20-25 minutes. Keep an eye on them; you want the edges to be lightly golden. Overbaking can lead to dry bars, and nobody wants that!
Step 9: Cool and Cut
Once baked, remove the pan from the oven and allow it to cool completely. This helps maintain their shape when you cut them into bars. Patience is key here—let them cool for at least 30 minutes.
Step 10: Add Sprinkles
Finally, top your cooled bars with Halloween-themed sprinkles. This adds the final festive touch that makes these treats truly special. Now, they’re ready to be enjoyed!
Tips for Success
- Make sure your butter is softened for easy creaming with sugar.
- Don’t skip the cooling step; it helps the bars hold their shape.
- Use a spatula to evenly layer the colored dough for a beautiful marbled effect.
- Keep an eye on the baking time to avoid overbaking.
- Feel free to experiment with different colors and sprinkles for various occasions!
Equipment Needed
- 9×13 inch baking pan: A standard size for these bars; you can use a similar-sized dish if needed.
- Mixing bowls: A large bowl for wet ingredients and a smaller one for dry ingredients.
- Whisk: Perfect for combining dry ingredients; a fork works in a pinch.
- Spatula: Great for layering the dough; a wooden spoon can also do the job.
- Oven mitts: Essential for safely handling hot pans!
Variations
- Gluten-Free: Substitute all-purpose flour with a gluten-free blend to make these bars suitable for gluten-sensitive friends.
- Vegan: Replace the egg with a flax egg (1 tablespoon ground flaxseed mixed with 2.5 tablespoons water) and use vegan butter for a plant-based version.
- Chocolate Chip: Add a cup of mini chocolate chips to the dough for a delightful twist on the classic sugar cookie flavor.
- Nutty Flavor: Incorporate chopped nuts like walnuts or pecans for added texture and flavor.
- Spiced Version: Add a teaspoon of cinnamon or pumpkin spice to the dry ingredients for a warm, autumnal flavor.
Serving Suggestions
- Pair these Halloween Sugar Cookie Bars with a warm cup of apple cider for a cozy treat.
- Serve alongside a scoop of vanilla ice cream for a delightful dessert experience.
- Present them on a festive platter, garnished with mini pumpkins or autumn leaves for a seasonal touch.
- Wrap individual bars in colorful cellophane for a fun party favor.
FAQs about Halloween Sugar Cookie Bars
Can I make these Halloween Sugar Cookie Bars ahead of time?
Absolutely! You can bake these bars a day or two in advance. Just store them in an airtight container to keep them fresh. They’ll still taste delicious when it’s time to serve!
What can I use instead of food coloring?
If you prefer a natural option, you can use beet juice for red, turmeric for yellow, or matcha for green. These alternatives will give your bars a unique twist while keeping them festive!
How do I store leftover cookie bars?
Store any leftover Halloween Sugar Cookie Bars in an airtight container at room temperature for up to a week. If you want to keep them longer, you can freeze them for up to three months!
Can I customize the sprinkles?
Definitely! Feel free to use any sprinkles that match your theme or occasion. From holiday colors to fun shapes, the options are endless!
What if my dough is too sticky?
If your dough feels too sticky, try chilling it in the refrigerator for about 30 minutes. This will make it easier to handle and layer in the pan.
Final Thoughts
Making these Halloween Sugar Cookie Bars is more than just baking; it’s about creating memories with your loved ones. The vibrant colors and festive sprinkles bring joy to any gathering, making them a perfect treat for Halloween celebrations. I love how easy they are to whip up, even on the busiest days. Plus, the smiles on my family’s faces when they take that first bite? Priceless! So, gather your ingredients, unleash your creativity, and enjoy the delightful experience of baking these spooky treats. Trust me, they’ll become a cherished tradition in your home!
Halloween Sugar Cookie Bars: A Spooktacular Treat Recipe!
- Total Time: 45 minutes
- Yield: 24 bars 1x
- Diet: Vegetarian
Description
Delicious and festive Halloween Sugar Cookie Bars that are perfect for celebrating the spooky season.
Ingredients
- 2 1/2 cups all-purpose flour
- 1 cup unsalted butter, softened
- 1 1/2 cups granulated sugar
- 1 large egg
- 1 teaspoon vanilla extract
- 1 teaspoon baking powder
- 1/2 teaspoon salt
- 1/2 teaspoon almond extract
- Food coloring (orange, black, purple)
- Sprinkles (Halloween-themed)
Instructions
- Preheat the oven to 350°F (175°C) and grease a 9×13 inch baking pan.
- In a large bowl, cream together the softened butter and sugar until light and fluffy.
- Add the egg and vanilla extract, mixing until well combined.
- In a separate bowl, whisk together the flour, baking powder, and salt.
- Gradually add the dry ingredients to the wet ingredients, mixing until just combined.
- Divide the dough into three portions and color each with food coloring.
- Press the colored dough into the prepared baking pan, layering them for a marbled effect.
- Bake for 20-25 minutes or until the edges are lightly golden.
- Allow to cool completely before cutting into bars.
- Top with Halloween-themed sprinkles before serving.
Notes
- Store in an airtight container for up to a week.
- Feel free to customize the colors and sprinkles for different occasions.
- For a softer cookie bar, do not overbake.
- Prep Time: 20 minutes
- Cook Time: 25 minutes
- Category: Dessert
- Method: Baking
- Cuisine: American
Nutrition
- Serving Size: 1 bar
- Calories: 150
- Sugar: 10g
- Sodium: 50mg
- Fat: 7g
- Saturated Fat: 4g
- Unsaturated Fat: 2g
- Trans Fat: 0g
- Carbohydrates: 20g
- Fiber: 0g
- Protein: 1g
- Cholesterol: 30mg