Introduction to How to Freeze Corn on the Cob
As summer rolls in, the sweet aroma of fresh corn on the cob fills the air, and I can’t help but feel nostalgic. Learning how to freeze corn on the cob means I can savor that delightful taste all year long. This simple method is a lifesaver for busy moms and professionals like us, allowing us to enjoy the flavors of summer even in the dead of winter. Imagine pulling out a perfectly preserved ear of corn for a quick weeknight dinner or a family gathering. It’s a delicious way to keep those sunny memories alive!
Why You’ll Love This How to Freeze Corn on the Cob
This method of freezing corn on the cob is not just easy; it’s a game changer for your kitchen routine. In just 25 minutes, you can preserve the sweet, juicy taste of summer. Plus, it’s a fantastic way to save money and reduce waste. You’ll always have fresh corn on hand, ready to elevate any meal. Trust me, your family will thank you when they bite into that sweet, tender goodness!
Fore more recipes follow my pinterest

Ingredients for How to Freeze Corn on the Cob
Gathering the right ingredients is the first step to mastering how to freeze corn on the cob. Here’s what you’ll need:
- Fresh corn on the cob: Look for ears that are plump and firm, with bright green husks. The fresher the corn, the sweeter the flavor!
- Water: This is essential for boiling and creating that ice bath. Use filtered water if you can; it makes a difference in taste.
- Ice: You’ll need plenty of ice to cool the corn quickly after blanching. It’s crucial for preserving that vibrant color and flavor.
While these are the main ingredients, feel free to get creative! You can add spices or herbs to the water for a unique twist. Just remember, the key to great frozen corn is starting with the freshest ingredients. For exact quantities, check the bottom of the article where you can find everything you need for printing.
How to Make How to Freeze Corn on the Cob
Now that you have your ingredients ready, let’s dive into the steps for freezing corn on the cob. This process is straightforward and rewarding. Follow along, and soon you’ll have sweet corn ready for any meal!
Step 1: Select Fresh Freeze Corn on the Cob
Choosing the right corn is crucial for freezing. Look for ears that are plump and firm, with bright green husks. The kernels should be tightly packed and milky when you pierce them. Fresh corn means better flavor, and trust me, you’ll taste the difference when you pull it out of the freezer!
Step 2: Prepare the Corn – Freeze Corn on the Cob
Once you’ve selected your corn, it’s time to prepare it. Start by removing the husks and silk. I find it easiest to peel the husks down from the top, then twist them off at the base. For the silk, a gentle tug usually does the trick. Make sure to remove all the silk strands; they can be pesky!
Step 3: Boil Water
Next, bring a large pot of water to a rolling boil. This step is essential because boiling helps to preserve the corn’s color and flavor. I usually fill my pot about halfway, so there’s plenty of room for the corn. Once it’s bubbling away, you’re ready for the next step!
Step 4: Blanch the Corn
Now it’s time to blanch the corn. Carefully add the ears to the boiling water and let them cook for 4-6 minutes. This quick cooking process stops enzyme actions that can cause loss of flavor and color. It’s like giving your corn a spa treatment before it heads to the freezer!
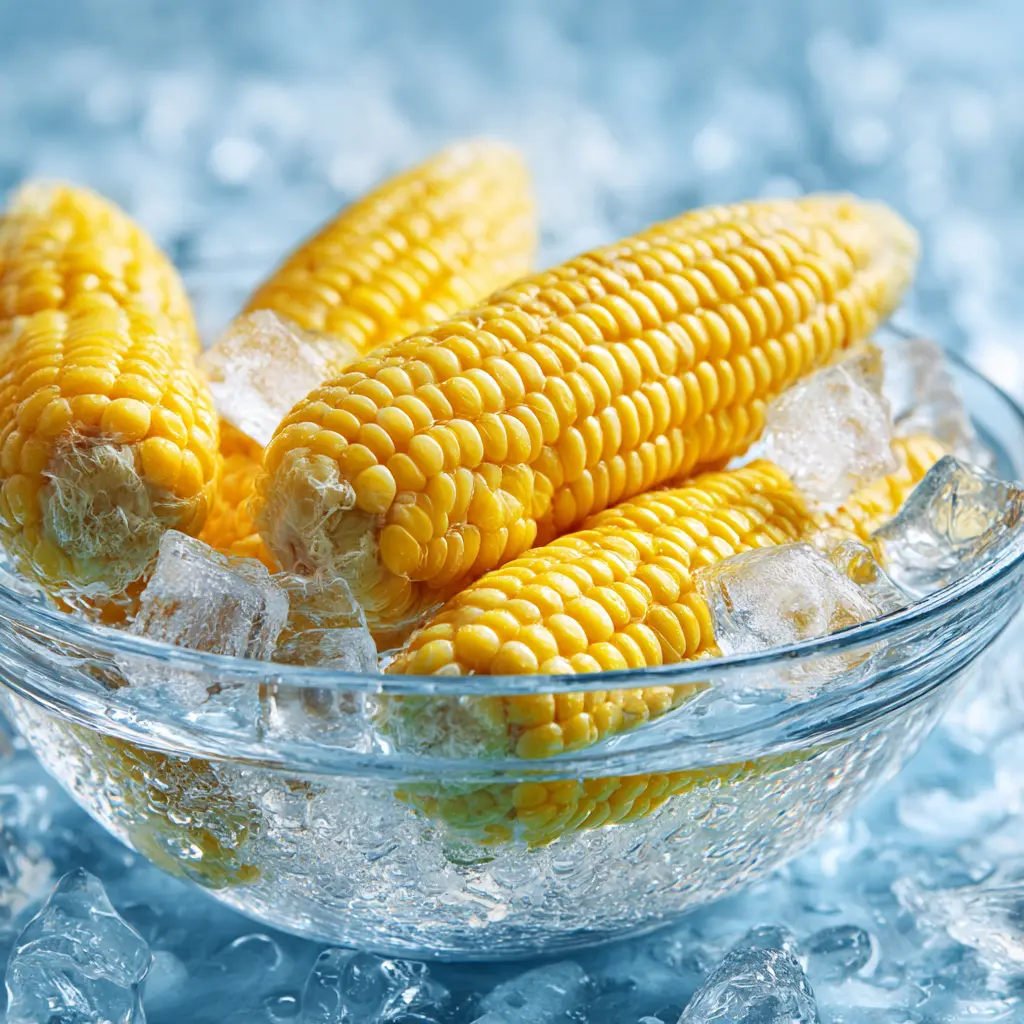
Step 5: Prepare an Ice Bath
While the corn is blanching, prepare an ice bath. Fill a large bowl with ice and cold water. This step is crucial because it stops the cooking process immediately. If you skip this, your corn could become mushy. We want that crisp, fresh texture preserved!
Step 6: Cool the Corn
Once the corn is done blanching, transfer it to the ice bath. Let it sit for about the same amount of time it was in the boiling water. This quick cooling locks in the flavor and keeps the corn vibrant. It’s a simple step that makes a big difference!
Step 7: Wrap the Corn
After cooling, drain the corn and pat it dry with a clean towel. Now, wrap each ear tightly in plastic wrap or aluminum foil. Make sure there are no gaps; you want to keep that fresh flavor locked in. I like to double wrap mine for extra protection!
Step 8: Store in Freezer Bags
Finally, place the wrapped corn in a freezer bag. Before sealing, remove as much air as possible. This helps prevent freezer burn. Don’t forget to label the bag with the date! You’ll be glad you did when you’re searching for that sweet corn in the depths of winter.
Tips for Success
- Always choose the freshest corn for the best flavor.
- Blanching time is key; don’t overcook the corn.
- Use a large pot to ensure the water returns to a boil quickly.
- Double wrap the corn to prevent freezer burn.
- Label your bags with the date to keep track of freshness.
Equipment Needed
- Large pot: A big pot is essential for boiling. If you don’t have one, a deep skillet can work too.
- Ice bath container: Use a large bowl for the ice bath. A clean sink can also do the trick!
- Plastic wrap or aluminum foil: These are perfect for wrapping the corn. If you prefer, freezer-safe bags can be used instead.
Variations
- Spicy Corn: Before blanching, sprinkle the corn with chili powder or cayenne for a kick.
- Herbed Corn: Add fresh herbs like basil or thyme to the boiling water for a fragrant twist.
- Garlic Butter Corn: Brush the corn with melted garlic butter before wrapping for a savory flavor.
- Cheesy Corn: Sprinkle grated Parmesan cheese over the corn after blanching for a cheesy treat.
- Vegan Option: Use vegetable broth instead of water for boiling to infuse extra flavor.
Serving Suggestions
- Pair your frozen corn with grilled chicken or fish for a delightful summer meal.
- Serve it alongside a fresh garden salad for a colorful plate.
- Drizzle with melted butter and sprinkle with sea salt for a classic side.
- For a fun twist, add corn to tacos or quesadillas.
- Enjoy with a chilled glass of lemonade for a refreshing summer vibe.

FAQs about How to Freeze Corn on the Cob
Can I freeze corn on the cob without blanching it?
While you can freeze corn without blanching, it’s not recommended. Blanching helps preserve the corn’s color, flavor, and texture. Skipping this step can lead to a mushy result. Trust me, you want that sweet crunch!
How long can I keep frozen corn on the cob?
Frozen corn on the cob can last up to 12 months in the freezer. Just make sure to label your bags with the date. This way, you’ll always know when it’s time to enjoy that summer goodness!
What’s the best way to cook frozen corn on the cob?
The best way to cook frozen corn on the cob is to boil it directly from the freezer. Just drop it into boiling water for about 5-7 minutes. You can also grill or microwave it for a quick side dish!
Can I freeze corn kernels instead of whole cobs?
Absolutely! If you prefer, you can cut the kernels off the cob after blanching and freeze them in bags. This makes for easy additions to soups, salads, or casseroles. Just remember to blanch first!
Is it safe to refreeze corn on the cob?
It’s best not to refreeze corn once it’s been thawed. Doing so can affect the texture and flavor. If you have leftovers, try to use them up within a few days for the best taste!
Final Thoughts
Freezing corn on the cob is more than just a kitchen task; it’s a way to capture the essence of summer and bring it into your home all year round. Each time I pull out a bag of frozen corn, I’m reminded of sunny days spent at the farmers’ market, picking the freshest ears. It’s a simple joy that transforms meals and brings smiles to my family’s faces. So, embrace this method and enjoy the sweet, tender flavors of corn whenever you desire. Trust me, your future self will thank you for this delicious decision!

How to Freeze Corn on the Cob for Fresh Flavors Year-Round
- Total Time: 25 minutes
- Yield: Varies based on the number of corn ears
- Diet: Vegetarian
Description
Learn how to freeze corn on the cob to enjoy fresh flavors all year round.
Ingredients
- Fresh corn on the cob
- Water
- Ice
Instructions
- Start by selecting fresh corn on the cob.
- Remove the husks and silk from the corn.
- Bring a large pot of water to a boil.
- Blanch the corn in boiling water for 4-6 minutes.
- Prepare an ice bath by filling a large bowl with ice and water.
- Transfer the blanched corn to the ice bath to stop the cooking process.
- Once cooled, drain the corn and pat it dry.
- Wrap each ear of corn in plastic wrap or aluminum foil.
- Place the wrapped corn in a freezer bag and remove as much air as possible.
- Label the bag with the date and place it in the freezer.
Notes
- Use fresh corn for the best flavor.
- Blanching is essential to preserve the corn’s color and flavor.
- Frozen corn can last up to 12 months in the freezer.
- Prep Time: 15 minutes
- Cook Time: 10 minutes
- Category: Preservation
- Method: Freezing
- Cuisine: American
Nutrition
- Serving Size: 1 ear of corn
- Calories: 77
- Sugar: 6 g
- Sodium: 2 mg
- Fat: 1 g
- Saturated Fat: 0 g
- Unsaturated Fat: 0 g
- Trans Fat: 0 g
- Carbohydrates: 17 g
- Fiber: 2 g
- Protein: 3 g
- Cholesterol: 0 mg