Introduction to Tombstone “RIP” Sandwiches
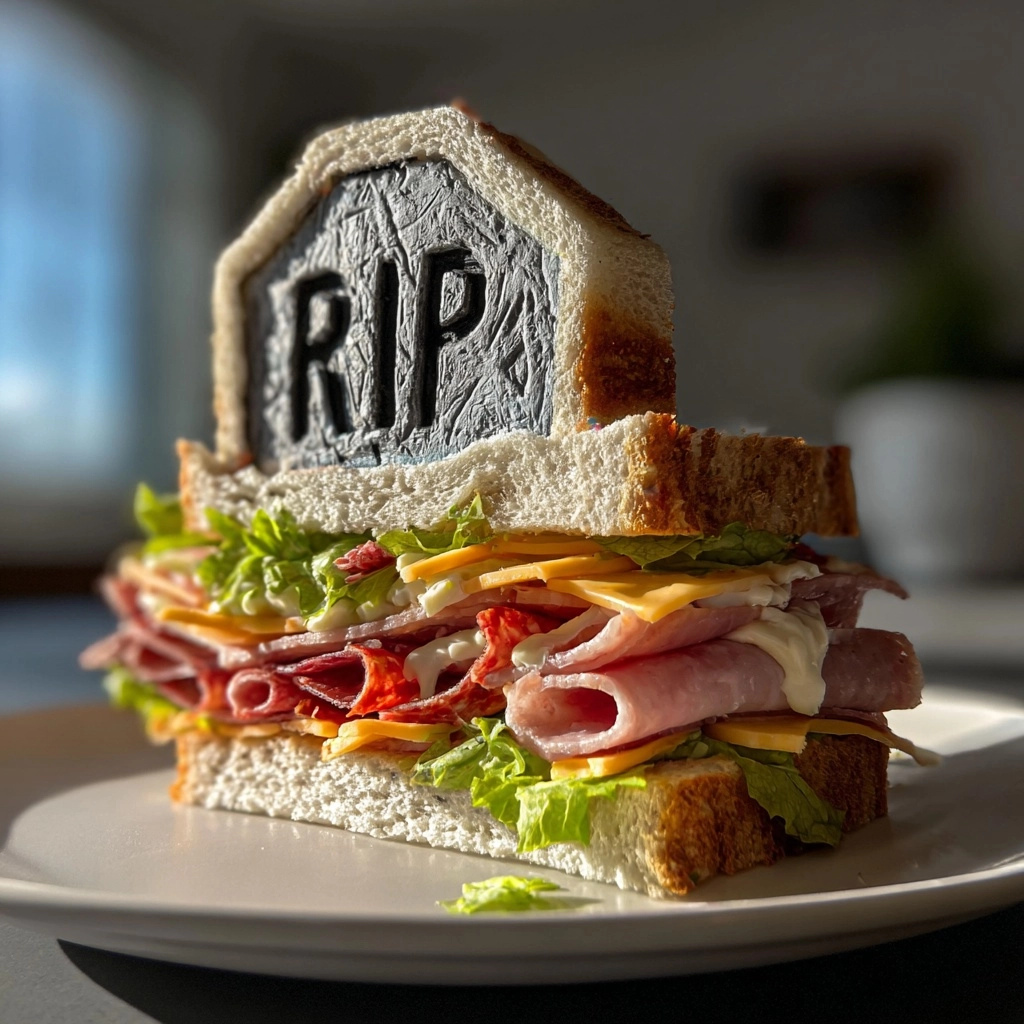
Welcome to the world of Tombstone “RIP” Sandwiches, where flavor meets creativity! As a busy mom, I know how challenging it can be to whip up something delicious and satisfying in a hurry. These sandwiches are not just a quick solution for a hectic day; they’re also a fun way to impress your loved ones at gatherings or themed parties. With just a few simple ingredients, you can create a hearty meal that brings smiles all around. So, let’s dive into this delightful recipe that’s sure to become a family favorite!
Why You’ll Love This Tombstone “RIP” Sandwiches
These Tombstone “RIP” Sandwiches are a lifesaver for busy days! They come together in just 15 minutes, making them perfect for lunch or a quick dinner. The combination of savory deli meats and fresh veggies creates a flavor explosion that your family will adore. Plus, they’re easily customizable, so everyone can enjoy their favorite ingredients. Trust me, these sandwiches will quickly become a go-to in your kitchen!
Ingredients for Tombstone “RIP” Sandwiches
Let’s gather our ingredients for these delightful Tombstone “RIP” Sandwiches! Each component plays a vital role in creating that perfect bite. Here’s what you’ll need:
- Bread: Choose your favorite type, whether it’s whole grain, sourdough, or gluten-free. The bread is the foundation of your sandwich.
- Deli Meats: Options like ham, turkey, or roast beef add a savory touch. Feel free to mix and match based on your family’s preferences.
- Cheese: Cheddar or Swiss works beautifully here. Cheese adds creaminess and flavor, making each bite irresistible.
- Lettuce: A crisp layer of lettuce brings freshness and crunch. You can use romaine, iceberg, or even spinach for a twist.
- Tomato: Slices of juicy tomato add a burst of flavor and color. They’re a must for that classic sandwich taste.
- Mayonnaise: This creamy condiment enhances the overall flavor. You can swap it for avocado spread for a healthier option.
- Mustard: A little tang from mustard balances the richness of the meats and cheese. Choose yellow, Dijon, or honey mustard based on your taste.
- Salt and Pepper: Simple seasonings that elevate the flavors. Just a pinch can make a world of difference!
Feel free to customize your sandwich with any additional ingredients you love. For instance, add pickles, onions, or even some spicy jalapeños for a kick! If you’re looking for a vegetarian option, grilled vegetables can be a fantastic substitute for deli meats. You’ll find the exact quantities for each ingredient at the bottom of the article, ready for printing!
How to Make Tombstone “RIP” Sandwiches
Now that we have our ingredients ready, let’s dive into making these delicious Tombstone “RIP” Sandwiches! Follow these simple steps, and you’ll have a hearty meal in no time.
Step 1: Toast the Bread
Start by toasting your bread slices until they’re golden brown. This adds a delightful crunch and prevents the sandwich from getting soggy. I love using a toaster oven for this, but a regular toaster works just as well!
Step 2: Spread the Condiments
Once your bread is toasted, spread mayonnaise and mustard on one side of each slice. This is where the magic begins! The creamy mayo and tangy mustard create a flavor base that complements the other ingredients beautifully.
Step 3: Layer the Deli Meats
Next, layer your choice of deli meats on one slice of bread. Whether you go for ham, turkey, or roast beef, make sure to pile them high! This is the heart of your Tombstone “RIP” Sandwich, so don’t be shy.
Step 4: Add Cheese and Veggies
Now it’s time to add the cheese, lettuce, and tomato. Place the cheese on top of the meats, followed by a generous layer of lettuce and slices of juicy tomato. The colors and textures will make your sandwich look as good as it tastes!
Step 5: Season to Taste
Sprinkle a little salt and pepper over the veggies. This simple step elevates the flavors and makes everything pop. Just a pinch can make a world of difference, trust me!
Step 6: Assemble the Sandwich
Carefully place the second slice of bread on top, mayonnaise side down. Press gently to help everything stick together. Your Tombstone “RIP” Sandwich is almost ready to shine!
Step 7: Cut and Serve
Finally, cut the sandwich into halves or quarters for serving. This not only makes it easier to eat but also adds a fun touch to your presentation. Serve it up with your favorite sides, and watch your family dig in!
Tips for Success
- Use fresh ingredients for the best flavor and texture.
- Toast the bread just right; it should be golden, not burnt.
- Don’t overload the sandwich; balance is key for easy eating.
- Experiment with different condiments for unique flavor profiles.
- Make extra sandwiches for quick lunches throughout the week!
Equipment Needed
- Toaster or Toaster Oven: For perfectly toasted bread. A skillet works too!
- Butter Knife: For spreading condiments. A spoon can do the trick in a pinch.
- Cutting Board: Essential for assembling and cutting your sandwich. Any flat surface will work.
- Sharp Knife: For cutting the sandwich into halves or quarters. A butter knife can also suffice.
Variations
- Vegetarian Delight: Swap out deli meats for grilled vegetables like zucchini, bell peppers, and mushrooms for a hearty, meat-free option.
- Spicy Kick: Add sliced jalapeños or a drizzle of sriracha to give your sandwich a fiery twist that spice lovers will adore.
- Herbed Cream Cheese: Replace mayonnaise with herbed cream cheese for a creamy, flavorful spread that adds a gourmet touch.
- Avocado Toast Style: Use avocado slices instead of mayonnaise for a creamy, nutritious alternative that pairs beautifully with the other ingredients.
- Breakfast Sandwich: Add a fried egg and swap the deli meats for bacon or sausage for a delicious breakfast version of the Tombstone “RIP” Sandwich.
Serving Suggestions
- Chips: Serve with a side of crunchy potato chips or veggie chips for a satisfying crunch.
- Pickles: Add dill pickles or pickled veggies for a tangy contrast to the savory sandwich.
- Salad: A light side salad with vinaigrette complements the hearty sandwich perfectly.
- Drinks: Pair with iced tea, lemonade, or a refreshing sparkling water for a delightful meal.
- Presentation: Serve on a colorful platter or wrap in parchment paper for a fun, picnic-style look.
FAQs about Tombstone “RIP” Sandwiches
Can I make Tombstone “RIP” Sandwiches ahead of time?
Absolutely! These sandwiches can be made ahead and stored in the refrigerator. Just keep them wrapped tightly to maintain freshness. They’re perfect for meal prep!
What are some good sides to serve with Tombstone “RIP” Sandwiches?
Chips, pickles, or a light salad make excellent sides. They add crunch and balance to the hearty flavors of the sandwich.
Can I customize the ingredients in my Tombstone “RIP” Sandwich?
Are Tombstone “RIP” Sandwiches suitable for kids?
How can I make a gluten-free version of Tombstone “RIP” Sandwiches?
Simply use gluten-free bread and ensure all condiments and deli meats are gluten-free. It’s an easy way to enjoy this delicious meal without worry!
Final Thoughts
Creating Tombstone “RIP” Sandwiches is more than just making a meal; it’s about bringing joy to the table. The laughter shared while assembling these fun sandwiches can turn an ordinary lunch into a cherished family moment. With their delightful flavors and endless customization options, these sandwiches cater to everyone’s tastes. Whether you’re hosting a themed party or simply enjoying a quick bite, these sandwiches are sure to impress. So, roll up your sleeves, gather your loved ones, and dive into this delicious culinary adventure. Trust me, you’ll be making these again and again!
Print
Tombstone “RIP” Sandwiches: Discover the Ultimate Flavor!
- Total Time: 15 minutes
- Yield: 2 sandwiches 1x
- Diet: Gluten Free
Description
Tombstone ‘RIP’ Sandwiches are a delicious and creative way to enjoy a hearty meal, perfect for gatherings or themed parties.
Ingredients
- 2 slices of bread
- 4 oz deli meats (ham, turkey, or roast beef)
- 2 slices of cheese (cheddar or Swiss)
- 1/4 cup lettuce
- 2 slices of tomato
- 1 tbsp mayonnaise
- 1 tbsp mustard
- Salt and pepper to taste
Instructions
- Start by toasting the bread slices until golden brown.
- Spread mayonnaise and mustard on one side of each slice of bread.
- Layer the deli meats on one slice of bread.
- Add cheese, lettuce, and tomato on top of the meats.
- Season with salt and pepper to taste.
- Top with the second slice of bread, mayonnaise side down.
- Cut the sandwich into halves or quarters for serving.
Notes
- Feel free to customize the sandwich with your favorite ingredients.
- For a vegetarian option, substitute deli meats with grilled vegetables.
- These sandwiches can be made ahead of time and stored in the refrigerator.
- Prep Time: 10 minutes
- Cook Time: 5 minutes
- Category: Lunch
- Method: Sandwich
- Cuisine: American
Nutrition
- Serving Size: 1 sandwich
- Calories: 350
- Sugar: 3g
- Sodium: 800mg
- Fat: 15g
- Saturated Fat: 6g
- Unsaturated Fat: 7g
- Trans Fat: 0g
- Carbohydrates: 30g
- Fiber: 2g
- Protein: 20g
- Cholesterol: 50mg