Introduction to Red-White-and-Blue Berry Trifle Cups
As a busy mom, I know how important it is to have quick and delightful desserts on hand. That’s why I absolutely adore these Red-White-and-Blue Berry Trifle Cups! They’re not just a feast for the eyes; they’re a breeze to whip up, making them perfect for any celebration. Whether it’s a backyard barbecue or a festive gathering, these trifle cups will impress your loved ones without keeping you in the kitchen for hours. Plus, who can resist the vibrant colors and fresh flavors of berries layered with creamy goodness? Let’s dive into this delicious treat!
Why You’ll Love This Red-White-and-Blue Berry Trifle Cups
These Red-White-and-Blue Berry Trifle Cups are a game-changer for busy days! They come together in just 30 minutes, making them a quick solution for dessert emergencies. The layers of fresh berries, creamy pudding, and fluffy whipped cream create a taste explosion that’s simply irresistible. Plus, they’re visually stunning, so you can impress guests without breaking a sweat. Trust me, your family will be asking for seconds!
Ingredients for Red-White-and-Blue Berry Trifle Cups
Gathering the right ingredients is the first step to creating these delightful Red-White-and-Blue Berry Trifle Cups. Here’s what you’ll need:
- Strawberries: Fresh and sweet, these berries add a vibrant red color and juicy flavor.
- Blueberries: These little gems bring a burst of sweetness and a beautiful blue hue to your trifle.
- Raspberries: Tart and tangy, they complement the sweetness of the other berries perfectly.
- Whipped Cream: Light and fluffy, it adds a creamy texture that balances the fruitiness.
- Vanilla Pudding: This creamy layer adds richness and a hint of vanilla that ties everything together.
- Pound Cake: Cubed for easy layering, it provides a soft, buttery base that soaks up the flavors.
- Mint Leaves: A fresh garnish that not only looks pretty but also adds a refreshing touch.
Feel free to mix and match with other berries if you have favorites! Blackberries or even peaches can work beautifully. You can find all the exact quantities at the bottom of the article, ready for printing. Happy cooking!
How to Make Red-White-and-Blue Berry Trifle Cups
Step 1: Prepare the Berries
Start by washing your strawberries, blueberries, and raspberries under cool water. Pat them dry gently with a paper towel. For the strawberries, slice them into thin pieces to showcase their juicy goodness. In a mixing bowl, combine all the berries together. This colorful medley will be the star of your Red-White-and-Blue Berry Trifle Cups, adding both flavor and visual appeal!
Step 2: Make the Vanilla Pudding
Next, grab a separate bowl and prepare the vanilla pudding according to the package instructions. Usually, this involves mixing the pudding mix with cold milk until it thickens. Stir it well to avoid any lumps. This creamy layer will add a delightful richness to your trifle cups, balancing the tartness of the berries beautifully.
Step 3: Layer the Ingredients
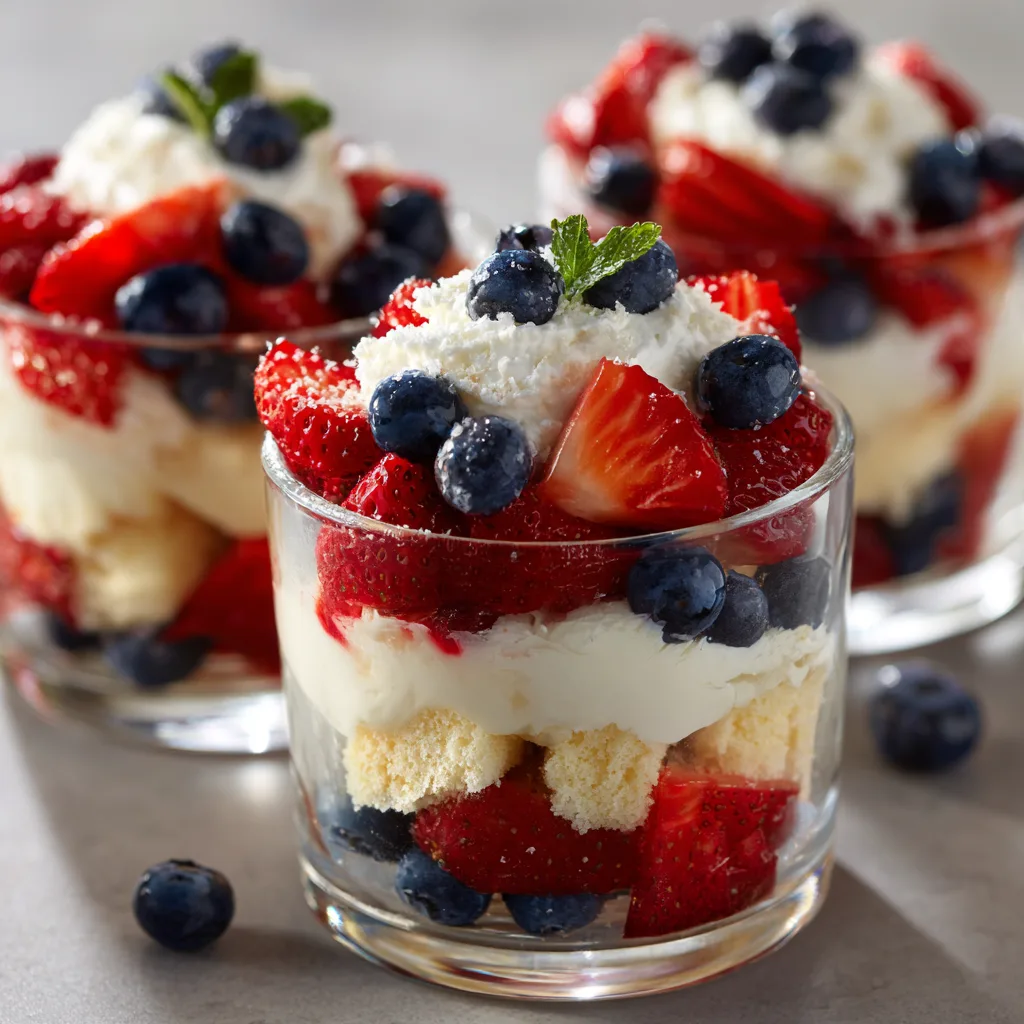
Now comes the fun part—layering! Start with a layer of cubed pound cake at the bottom of your serving cups. Next, spoon in a generous layer of vanilla pudding, followed by a layer of your mixed berries. Top it off with a fluffy layer of whipped cream. Repeat these layers until the cups are filled to the brim. The vibrant colors will create a stunning visual treat that’s sure to impress!
Step 4: Chill and Serve
Once your trifle cups are assembled, it’s time to chill them in the refrigerator. Let them sit for at least 30 minutes. This chilling time allows the flavors to meld together beautifully. When you’re ready to serve, simply pull them out, and watch your family’s eyes light up with delight!
Tips for Success
- Use fresh, ripe berries for the best flavor and texture.
- Make the vanilla pudding ahead of time to save on prep.
- For a fun twist, try adding a splash of vanilla extract to the whipped cream.
- Layer the ingredients gently to keep the colors vibrant.
- Don’t skip the chilling time; it enhances the flavors!
Equipment Needed
- Mixing Bowls: Use any size you have on hand; a large bowl works best for mixing berries.
- Measuring Cups: Essential for accurate ingredient portions; a simple set will do.
- Serving Cups: Clear glass cups are ideal for showcasing layers; mason jars are a fun alternative.
- Whisk or Spoon: For mixing pudding and layering ingredients; a spatula can also be handy.
Variations of Red-White-and-Blue Berry Trifle Cups
- Berry Medley: Swap out the berries for your favorites! Try blackberries, peaches, or even cherries for a unique twist.
- Gluten-Free Option: Use gluten-free pound cake or ladyfingers to make this dessert suitable for gluten-sensitive guests.
- Dairy-Free Delight: Substitute the vanilla pudding with a dairy-free version and use coconut whipped cream for a tropical flair.
- Chocolate Lovers: Add a layer of chocolate pudding or sprinkle chocolate shavings between the layers for a decadent touch.
- Nutty Crunch: Incorporate crushed nuts or granola between the layers for added texture and flavor.
Serving Suggestions for Red-White-and-Blue Berry Trifle Cups
- Pair with a refreshing lemonade or iced tea for a delightful summer treat.
- Serve alongside a light salad for a balanced meal.
- Garnish with extra mint leaves for a pop of color.
- Use clear glass cups to showcase the beautiful layers.
FAQs about Red-White-and-Blue Berry Trifle Cups
Can I make Red-White-and-Blue Berry Trifle Cups in advance?
Absolutely! These trifle cups can be made a few hours ahead of time. Just remember to chill them in the refrigerator to let the flavors meld beautifully. This makes them perfect for parties or gatherings!
What can I substitute for the pound cake?
If you don’t have pound cake on hand, you can use ladyfingers, sponge cake, or even store-bought cake. Each option will add its own unique texture to your Red-White-and-Blue Berry Trifle Cups.
How long do the trifle cups last in the fridge?
These delightful cups are best enjoyed within 2-3 days. After that, the berries may start to lose their freshness, but they’ll still taste delicious!
Can I use frozen berries instead of fresh?
Yes, you can! Just make sure to thaw and drain them well before using. Frozen berries can be a great alternative, especially when fresh ones aren’t in season.
Is this dessert suitable for a gluten-free diet?
Yes, simply swap the pound cake for a gluten-free version, and you’ll have a delicious treat that everyone can enjoy. Your guests won’t even notice the difference!
Final Thoughts
Creating these Red-White-and-Blue Berry Trifle Cups is more than just making a dessert; it’s about bringing joy to your table. Each layer tells a story of fresh flavors and vibrant colors, making every bite a celebration. Whether it’s a family gathering or a simple weeknight treat, these trifle cups are sure to spark smiles and happy memories. Plus, they’re so easy to prepare that you’ll find yourself making them again and again. So, gather your loved ones, dig in, and enjoy the delightful experience that these trifle cups bring to your home!
Print
Red-White-and-Blue Berry Trifle Cups for a Festive Treat!
- Total Time: 30 minutes
- Yield: 4 servings 1x
- Diet: Vegetarian
Description
A delightful and festive dessert featuring layers of fresh berries, creamy filling, and cake, perfect for celebrations.
Ingredients
- 1 cup strawberries, sliced
- 1 cup blueberries
- 1 cup raspberries
- 2 cups whipped cream
- 1 cup vanilla pudding
- 1 cup pound cake, cubed
- Mint leaves for garnish
Instructions
- In a bowl, mix the strawberries, blueberries, and raspberries.
- In a separate bowl, prepare the vanilla pudding according to package instructions.
- In serving cups, layer the ingredients starting with a layer of pound cake, followed by a layer of vanilla pudding, then a layer of mixed berries, and finally a layer of whipped cream.
- Repeat the layers until the cups are filled.
- Top with additional whipped cream and garnish with mint leaves.
- Chill in the refrigerator for at least 30 minutes before serving.
Notes
- Feel free to use any combination of berries you prefer.
- This dessert can be made a few hours in advance.
- For a lighter version, use low-fat whipped cream and pudding.
- Prep Time: 20 minutes
- Cook Time: 0 minutes
- Category: Dessert
- Method: No-bake
- Cuisine: American
Nutrition
- Serving Size: 1 cup
- Calories: 250
- Sugar: 15g
- Sodium: 100mg
- Fat: 10g
- Saturated Fat: 5g
- Unsaturated Fat: 3g
- Trans Fat: 0g
- Carbohydrates: 35g
- Fiber: 2g
- Protein: 4g
- Cholesterol: 30mg