Introduction to Cottage Cheese Protein Ice Cream (Actually Creamy!)
Hey there, fellow food lovers! If you’re like me, you’re always on the lookout for quick and healthy treats that don’t skimp on flavor. That’s where this Cottage Cheese Protein Ice Cream (Actually Creamy!) comes in. It’s a delightful way to satisfy your sweet tooth while sneaking in some protein. Perfect for busy days or when you want to impress your loved ones, this recipe is not just easy to whip up, but it’s also a guilt-free indulgence. Trust me, once you try it, you’ll wonder how you ever lived without it!
Why You’ll Love This Cottage Cheese Protein Ice Cream (Actually Creamy!)
This Cottage Cheese Protein Ice Cream (Actually Creamy!) is a game-changer for busy moms and professionals. It’s incredibly easy to make, taking just 10 minutes of prep time. Plus, it’s a healthier alternative to traditional ice cream, packed with protein and low in calories. The creamy texture and delightful flavor will have your family asking for seconds. It’s a sweet treat that fits perfectly into your hectic lifestyle!
Ingredients for Cottage Cheese Protein Ice Cream (Actually Creamy!)
Let’s dive into the delicious components of this Cottage Cheese Protein Ice Cream (Actually Creamy!). Each ingredient plays a vital role in creating that creamy, dreamy texture we all crave.
- Cottage Cheese: The star of the show! It adds protein and creaminess, making this ice cream a healthy choice.
- Milk (or Almond Milk): This helps blend everything smoothly. Use your favorite milk for a personal touch!
- Honey or Maple Syrup: A natural sweetener that brings a touch of sweetness. Adjust it to your taste for the perfect balance.
- Vanilla Extract: This adds a warm, comforting flavor that elevates the entire dish. It’s like a hug in a scoop!
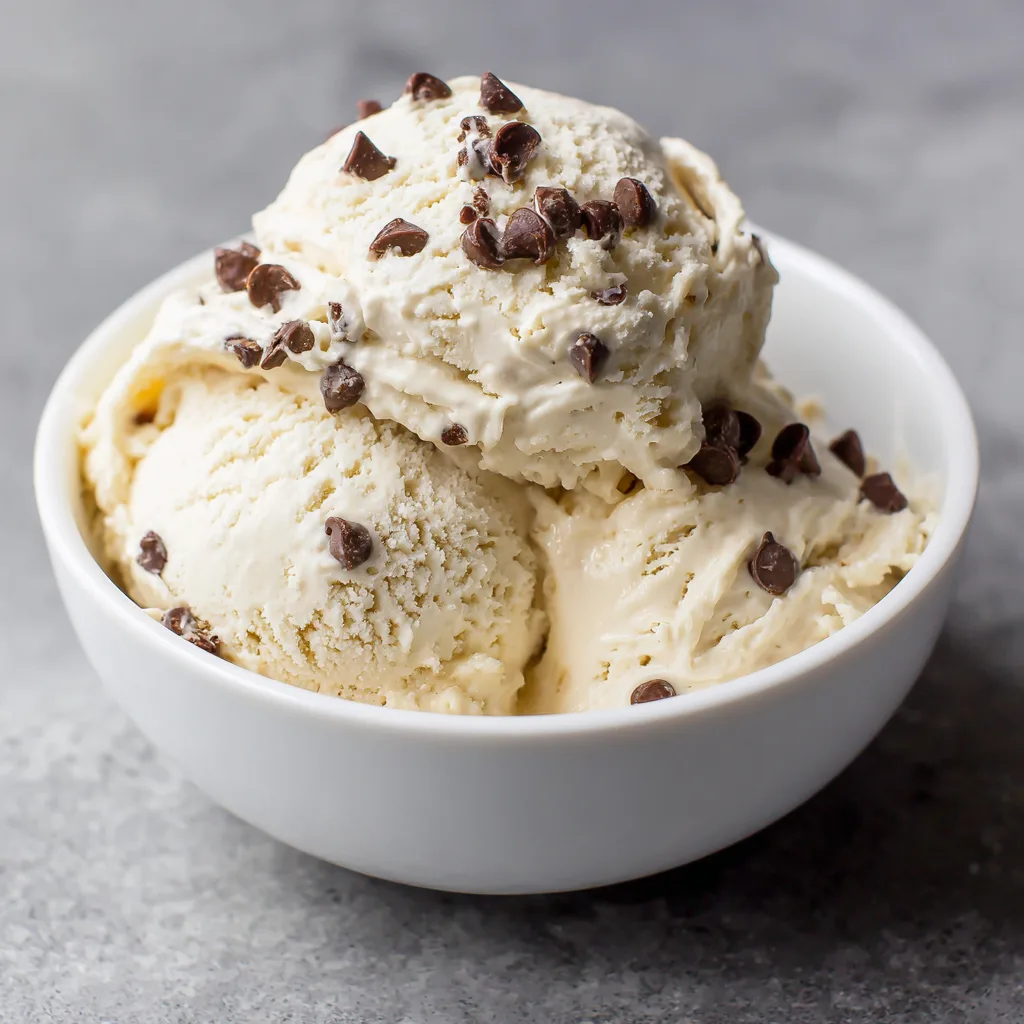
- Chocolate Chips (optional): For those who love a little extra indulgence, these can be folded in for a delightful surprise.
For those looking for alternatives, you can use plant-based cottage cheese and sweeteners for a vegan version. Remember, the exact quantities are at the bottom of the article, ready for you to print and keep handy!
How to Make Cottage Cheese Protein Ice Cream (Actually Creamy!)
Now that we have our ingredients ready, let’s get to the fun part—making this Cottage Cheese Protein Ice Cream (Actually Creamy!). Follow these simple steps, and you’ll be enjoying a delicious treat in no time!
Step 1: Blend the Base
Start by grabbing your blender. Toss in the cottage cheese, milk, honey (or maple syrup), and vanilla extract. Blend everything together until it’s smooth and creamy. This is where the magic begins! If you’re using almond milk, it adds a lovely nutty flavor.
Step 2: Achieve Creamy Consistency
Once blended, check the consistency. It should be thick yet pourable. If it’s too thick, add a splash more milk. Remember, the goal is that luscious, creamy texture that makes this ice cream so irresistible!
Step 3: Add Optional Ingredients
If you’re feeling a bit indulgent, now’s the time to fold in those chocolate chips. They add a delightful crunch and a burst of chocolatey goodness. Just gently mix them in with a spatula to keep the chips intact.
Step 4: Churn the Mixture
Pour your creamy mixture into an ice cream maker. Follow the manufacturer’s instructions for churning. This process incorporates air, making your ice cream light and fluffy. It usually takes about 20-30 minutes, so be patient—good things come to those who wait!
Step 5: Freeze and Serve
Once churned, transfer the ice cream to a container. Cover it tightly and pop it in the freezer for at least 2 hours. This step is crucial for achieving that perfect scoopable texture. When you’re ready to serve, let it sit out for a few minutes to soften slightly. Then, scoop and enjoy your Cottage Cheese Protein Ice Cream (Actually Creamy!)!
Tips for Success
- Use full-fat cottage cheese for a creamier texture.
- Chill your blender and mixing bowl beforehand for an extra smooth blend.
- Experiment with different sweeteners like agave or stevia for a unique twist.
- Don’t skip the freezing step; it’s key for that perfect scoop.
- For a fun twist, try adding fruit purees or nut butters to the base!
Equipment Needed for Cottage Cheese Protein Ice Cream (Actually Creamy!)
- Blender: A high-speed blender works best, but a regular one will do.
- Ice Cream Maker: If you don’t have one, a shallow dish and a fork can help you manually mix and freeze.
- Container: Use an airtight container for freezing your ice cream.
Variations of Cottage Cheese Protein Ice Cream (Actually Creamy!)
- Fruit-Infused: Blend in your favorite fruits like strawberries, bananas, or mangoes for a refreshing twist.
- Nutty Delight: Add a spoonful of almond or peanut butter for a rich, nutty flavor that pairs beautifully with the creaminess.
- Chocolate Lovers: Mix in cocoa powder or melted dark chocolate for a decadent chocolate version.
- Spiced Up: Sprinkle in some cinnamon or nutmeg for a warm, cozy flavor that’s perfect for fall.
- Vegan Option: Use plant-based cottage cheese and maple syrup to create a delicious vegan-friendly treat.
Serving Suggestions for Cottage Cheese Protein Ice Cream (Actually Creamy!)
- Serve with fresh berries for a burst of color and flavor.
- Drizzle with a bit of chocolate or caramel sauce for extra sweetness.
- Pair with a warm slice of banana bread for a delightful contrast.
- Top with crushed nuts for added crunch and nutrition.
- Garnish with mint leaves for a refreshing touch.
FAQs about Cottage Cheese Protein Ice Cream (Actually Creamy!)
Can I use low-fat cottage cheese for this recipe?
Absolutely! Low-fat cottage cheese will still give you a creamy texture, but it may be slightly less rich. It’s a great option if you’re watching your calories!
How long can I store the Cottage Cheese Protein Ice Cream?
You can store it in the freezer for up to a week. Just make sure to keep it in an airtight container to maintain its creamy goodness!
Can I make this ice cream without an ice cream maker?
Yes! If you don’t have an ice cream maker, pour the mixture into a shallow dish. Stir it every 30 minutes until it reaches your desired consistency. It’s a bit more work, but totally worth it!
Is this Cottage Cheese Protein Ice Cream suitable for kids?
Definitely! It’s a healthier alternative to traditional ice cream, packed with protein. Kids will love the creamy texture and sweet flavor, especially with fun mix-ins!
Can I customize the sweetness level?
Of course! Feel free to adjust the honey or maple syrup to your taste. You can even try using stevia or agave for a different sweetness profile!
Final Thoughts on Cottage Cheese Protein Ice Cream (Actually Creamy!)
Making Cottage Cheese Protein Ice Cream (Actually Creamy!) is more than just a recipe; it’s a delightful experience that brings joy to your kitchen. The creamy texture and rich flavor make it a treat everyone can enjoy, guilt-free! I love how it fits seamlessly into my busy life, providing a quick and healthy dessert option. Plus, it’s a fantastic way to sneak in some protein for the family. So, whether you’re celebrating a special occasion or just treating yourself after a long day, this ice cream is sure to bring smiles all around!
Print
Cottage Cheese Protein Ice Cream (Actually Creamy!) Awaits You!
- Total Time: 2 hours 10 minutes
- Yield: 4 servings 1x
- Diet: Low Calorie
Description
A delicious and creamy cottage cheese protein ice cream that is healthy and easy to make.
Ingredients
- 2 cups cottage cheese
- 1/2 cup milk (or almond milk)
- 1/4 cup honey or maple syrup
- 1 teaspoon vanilla extract
- 1/2 cup chocolate chips (optional)
Instructions
- In a blender, combine cottage cheese, milk, honey (or maple syrup), and vanilla extract.
- Blend until smooth and creamy.
- If desired, fold in chocolate chips.
- Pour the mixture into an ice cream maker and churn according to the manufacturer’s instructions.
- Transfer to a container and freeze for at least 2 hours before serving.
Notes
- For a vegan version, use plant-based cottage cheese and sweeteners.
- Adjust sweetness according to your taste.
- Store leftovers in the freezer for up to a week.
- Prep Time: 10 minutes
- Cook Time: 0 minutes
- Category: Dessert
- Method: Blending and Churning
- Cuisine: American
Nutrition
- Serving Size: 1/2 cup
- Calories: 150
- Sugar: 10g
- Sodium: 200mg
- Fat: 5g
- Saturated Fat: 2g
- Unsaturated Fat: 3g
- Trans Fat: 0g
- Carbohydrates: 20g
- Fiber: 1g
- Protein: 10g
- Cholesterol: 15mg